

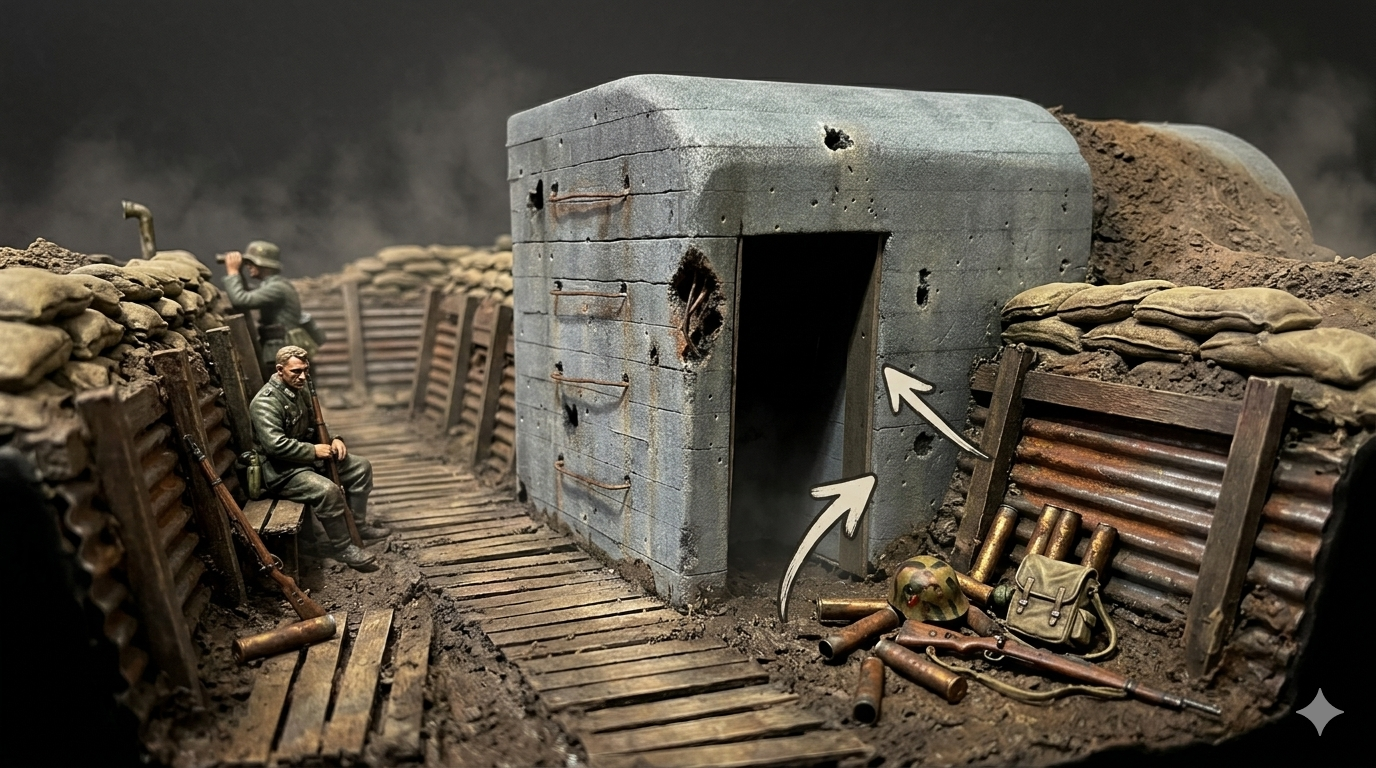
A good bunker can instantly give a WWII diorama some serious character — and you don’t need a big pile of expensive aftermarket parts to build one. In this project, I’ll show you how I create a realistic bunker from XPS foam using simple techniques that can be adapted to different scales and scenes.
Watch the Step-by-Step Video
Watch the complete bunker build on the Scale Wonderland YouTube channel →
Start With XPS Foam
XPS foam is one of my favorite materials for scratch building because it is lightweight, inexpensive and easy to cut and texture. The bunker starts with the basic walls and structure cut from foam. Take your time here — getting the main shape right makes everything that follows much easier.
Build the Concrete Structure
Once the main pieces are cut, assemble the bunker and check the proportions before moving on to the surface work. Don’t worry if the foam looks far too clean at this point. Right now we’re building the bones. The ugly part comes later — and in WWII modeling, ugly is usually a compliment. 😁
Create the Poured-Concrete Look
One of the details that really sells a bunker is the concrete texture. Add subtle imperfections rather than leaving the walls perfectly smooth. You can also reproduce the horizontal and vertical lines left by the forms used when the concrete was poured.
Keep the effect restrained. We want reinforced concrete, not a bunker that looks like it survived an argument with a cheese grater.
Add Damage and Imperfections
Small chips, worn edges and irregular areas help break up the clean foam surface. Concentrate the damage where it makes sense and vary it around the structure. Randomness is useful, but believable randomness is even better.
Paint and Weather the Bunker
After the structure is ready, primer and paint bring everything together. Work with variations in grey rather than one perfectly uniform concrete color, then use washes, streaking, dirt and earth tones to emphasize the texture and age the surface.
The bunker should also feel connected to the terrain around it. Dust, mud, vegetation and accumulated grime around the lower areas help make the structure look like it belongs in the scene instead of sitting on top of it.
Make It Part of the Story
This is where scratch building becomes fun. Once you understand the basic construction, you can change the dimensions, add battle damage, incorporate trenches, camouflage, vegetation or other battlefield details and make the bunker fit your own diorama.
That’s the whole idea behind Scale Wonderland: learn the technique, then make it your own.
Want more Scale Wonderland? Subscribe to the Scale Wonderland YouTube channel for more WWII modeling, diorama, weathering and scratch-building tutorials. You can also join me on Patreon for cheat sheets, WIP content, behind-the-scenes material and more.
Every Model Tells a Story!