

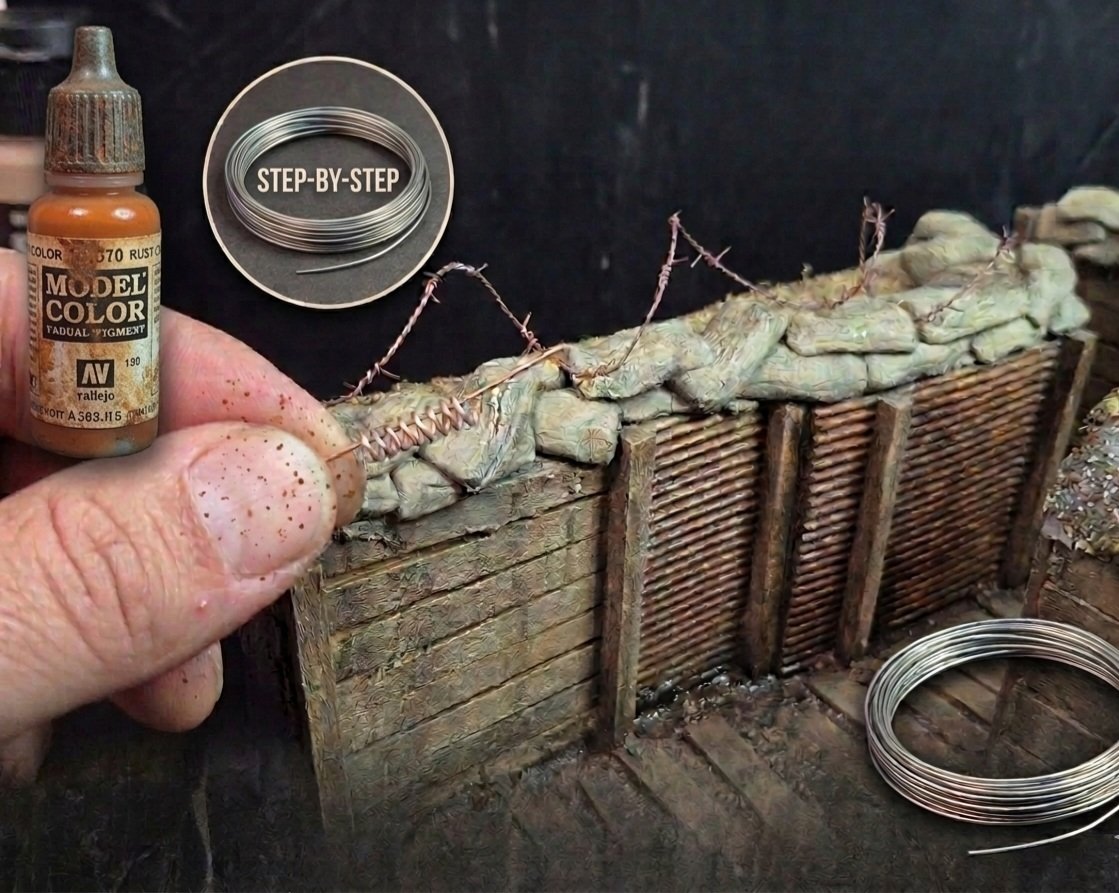
Barbed wire is one of those little details that can completely change a WWII diorama. The good news? You don’t need to spend a fortune on a tiny package of pre-made wire. With some basic wire, a drill and a little patience, you can make your own — and yes, it actually looks like barbed wire instead of something stolen from your toaster. 😁
In this tutorial I’ll show you how I make realistic DIY barbed wire for scale model dioramas, including the method I use for both 1/16 and 1/35 scale.
Watch the Step-by-Step Video
Watch the complete DIY Barbed Wire tutorial on the Scale Wonderland YouTube channel →
What You’ll Need
- Thin copper or craft wire appropriate for your scale
- A drill or pin vise
- Small pliers
- Wire cutters
- Acrylic paint for the base color
- Rust-colored paint, washes or pigments for weathering
Step 1 — Make the Main Wire
Start with two lengths of wire. Secure the ends together, place the opposite ends in your drill and slowly twist them. You want a consistent twist, but don’t go full Formula 1 with the drill. Too much speed and you’ll either snap the wire or create something that belongs in modern art.
Step 2 — Create the Barbs
Cut short pieces of thinner wire and wrap them tightly around the main twisted wire. Leave the ends sticking out to create the individual barbs. Once everything is positioned, trim the ends to a consistent length.
Step 3 — Get the Spacing Right
The spacing is what helps sell the scale. For my builds, I use approximately 1 cm spacing for 1/16 scale and around 0.5 cm for 1/35 scale. You don’t need laboratory precision here — a little natural variation can actually make it look more convincing.
Step 4 — Shape It for the Diorama
Once the wire is finished, gently bend and shape it before installing it. Real battlefield wire wasn’t perfectly straight and pretty, so don’t be afraid to add some sag, uneven tension and bends. That little bit of imperfection is your friend.
Step 5 — Paint and Weather It
Give the wire a dark metallic or brown base, then build up rust tones gradually. A combination of darker brown, reddish rust and a few lighter orange touches gives much more depth than covering everything with one bright rust color.
The goal is variation. Some sections can look older and heavily oxidized while others remain darker. That contrast is what makes a tiny detail suddenly look convincing.
Safety First
Be careful with the finished wire. Those little barbs can actually be sharp. Use pliers when possible, keep your fingers out of the way when trimming, and don’t leave loose pieces lying around the workbench. Your diorama needs casualties — your fingers don’t. 😁
One Cheap Detail, Big Difference
This is exactly the kind of DIY technique I love. It costs almost nothing, you can make as much as you need, and you can adapt it to whatever scene you’re building. More importantly, it gives you control over the spacing, shape and weathering instead of forcing your diorama to fit a commercial product.
If you try this technique, make it your own. Bend it, damage it, rust it and work it into the story of your scene.
Want more Scale Wonderland? Subscribe to the Scale Wonderland YouTube channel for more WWII modeling, diorama, weathering and scratch-building tutorials. You can also join me on Patreon for cheat sheets, WIP content, behind-the-scenes material and more.
Every Model Tells a Story!